


PEELING SYSTEM
U.S. Professionals Only
Participation in any training, course, or educational program offered by MTS US is strictly limited to individuals who are licensed professionals in the United States, in accordance with applicable state and federal regulations.
By enrolling in or attending MTS US trainings, you represent and warrant that you hold a current, valid professional license authorizing you to perform aesthetic or medical procedures in your state of practice. MTS US reserves the right to verify credentials and deny participation to any individual who fails to meet these eligibility requirements.
All educational content provided is for informational and professional development purposes only and does not constitute medical advice or authorize the performance of any procedure outside the scope of your licensure.
It is the sole responsibility of each participant to ensure compliance with all applicable laws, rules, and guidelines set forth by their state licensing board or regulatory authority.
Dr. Maria Fedchuk

- Ukrainian Board-Certified Dermatologist
- Anti-Aging Medicine Expert with 20 years of experience
- Licensed Cosmetologist in the United States
UADV, EADV, IALMS, IPS, IHS, IACT (Europe)🇪🇺

TREATMENT

PERSONALIZED APPROACH TO EVERY CLIENT


Morning and evening: GF-20 EXOSOMES BOOST (can be applied additionally during the day if necessary).

During the first 5-6 days after the treatment Aquaphor healing ointment (or any petrolatum based product). This will help retain moisture in the skin during recovery.
Sunscreen with SPF 30 in winter, SPF 50 in summer.

Starting from Day 3 post-procedure, introduce H8 NIGHT SKIN SERUM into the evening routine: apply to clean skin, leave on for 20 minutes (do not rinse), layer GF-20 BOOST CREAM enriched with exosomes, PDRN, peptides and probiotics on top of the serum.


Our starter kits

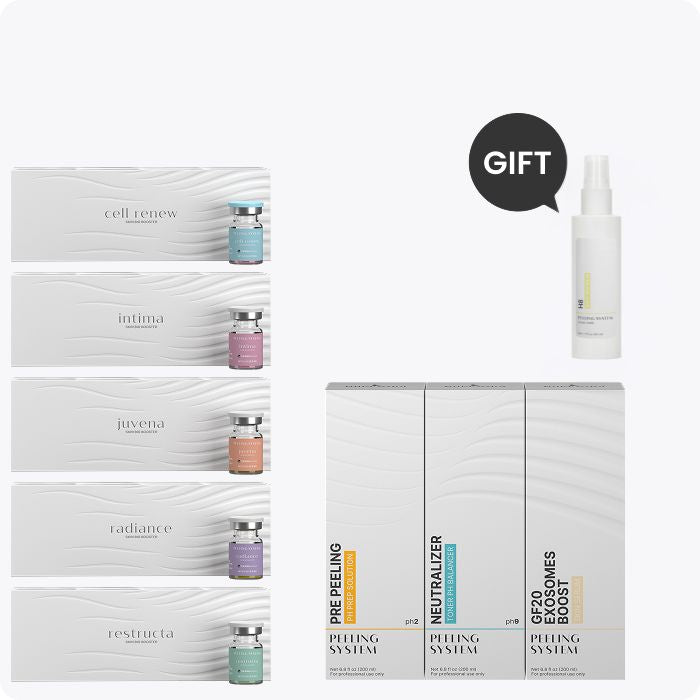
Available for verified professionals only
This starter kit provides an excellent introduction to our products, allowing you to explore their uses and determine which peels are best suited for your practice and clients.
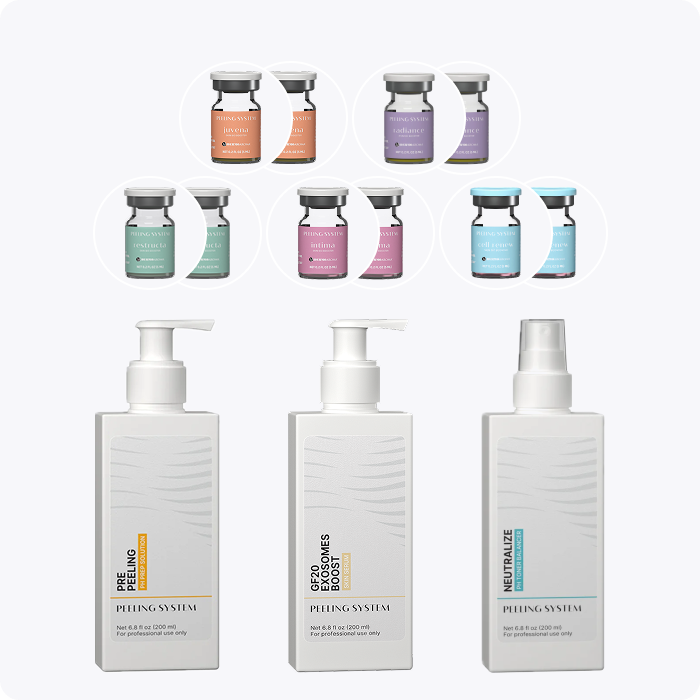
Available for verified professionals only
This starter kit provides an excellent introduction to our products, allowing you to explore their uses and determine which peels are best suited for your practice and clients.
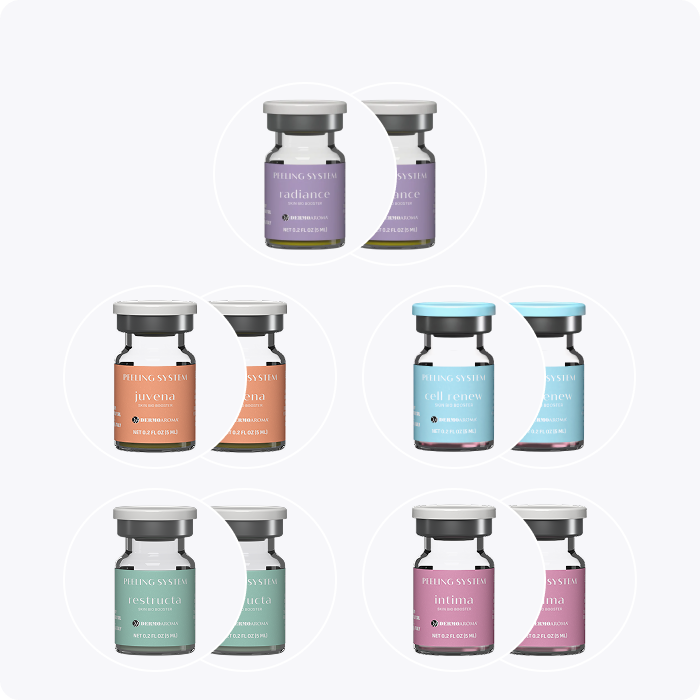
Available for verified professionals only

Med Spas in the U.S.
Claim your spot and Level Up with the best


